Friday, January 28, 2011

{flashy} Fix-It Friday #84

Another Friday, another edit!

Original photo from I Heart Faces


My edit

Using CS4, the first thing I did was open the channels tab and click on load info (the dotted circle at the bottom of the box) This selects the highlights in the photo. I inversed the selection, which selects the shadows, and created a curves adjustment pulling the midtones up. This lightens the shadows without lightening the highlights.

The rest of my edit was fairly business as usual
  • curves adjustment, slight s-curve
  • levels adjustment, on each channel
  • duplicated background, multiply blend mode at 20% opacity, masked the girl back in
  • yellow fill layer, at 15% opacity
  • high pass sharpen
  • Nelly Nero gritty texture, at 15% opacity, masked the girl back in
  • cropped

Check out the rest of the edits!


{tasty} A lesson in baking

It feels like winter is quickly passing us by, but I'm not quite ready to let go just yet. I am still holding out hope that we will get some snow. And by snow, I mean snow that actually accumulates and sticks around for more than an hour. It doesn't take much to make this native Californian happy. Cold weather? Gloom? Ice!? I'M IN! I just want some snow too! Is that too much to ask? I don't think so.

One thing I love about winter is the food that comes with it. The comforting soups, hot tea, squash. All the yummy goodness that warms your heart. For me, while it may not be completely synonymous with winter, clove, is another one of those comforts. The smell is intoxicating and the flavor is unmistakable. I had the idea to make a chocolate chip cookie, but not just any chocolate chip cookie. An orange-clove chocolate chip cookie. Oh yeah, thats right. 

Given, I really don't know all that much about baking other than I follow a recipe, bake a bunch, eat a bit, and send the rest off with my husband when he goes to work. I figured it couldn't be too hard. I took the standard tollhouse recipe and thought I had a brilliant idea, simple syrup! I made a simple syrup of sugar, orange juice, and ground cloves. The smell was amazing and ultimately the syrup was exactly what I was looking for. A punch in the face of flavor! Exactly my intention. I used this in place of sugar in the recipe. Not my intention, however, was the complete muddlement of flavor when I added flour to the mix. I ended up having to add brown sugar, and tweak a bit to pull the flavor back in. In the end I quite liked my cookie, but it wasn't exactly what I was going for. Lesson being, keep trying! Hey, I never said it was a profound lesson...

Thus came round two! I decided to give it another shot on Tuesday and kept things a little simpler; which resulted in quite a tasty cookie!


I may or may not have had 5 for lunch that day. 


In my defense, that was all I ate for lunch that day. 


That makes it better, right?


So, lets get to it.
Pre-heat oven to 325 degrees. Adjust oven racks to upper- and lower- middle positions. 

Start by mixing flour, salt, baking soda and cloves together in medium bowl; set aside. 

Melt and cool butter

Either by hand or with electric mixer, add sugars until thoroughly blended. Mix in egg, yolk, orange juice and extracts. 

Add dry ingredients; mix until just combined. Do you see all those gorgeous specks of clove?

add in the chocolate chips


Drop dough by rounded tablespoon full onto ungreased or parchment lined cookie sheet

Bake until cookies are set around outer edges start to harden yet centers are still soft and puffy, 12-15 minutes.  Cool cookies on cookie sheets. 

ENJOY!

Now, I must admit, something possessed me to add a little extra orange juice to my dough so my consistency is a little thinner than what you would get based off my recipe. It made for an interesting texture, but of course, the flavor is what really matters. 


Orange-Clove Chocolate Chip Cookies
1/2 cup butter (1 stick), melted
1/3 cup orange juice
2 1/4 cups flour
1/2 tsp baking soda
1/2 tsp salt
2 tsp ground cloves
1 egg + 1 egg yolk
1 cup brown sugar
1/2 cup granulated sugar
1 tsp vanilla extract
1 tsp orange extract
1 1/2 cups chocolate chips

Pre-heat oven to 325 degrees. Adjust oven racks to upper- and lower- middle positions. 

Start by mixing flour, salt, baking soda and cloves together in medium bowl; set aside. 

Melt and cool butter. Either by hand or with electric mixer, add sugars until thoroughly blended. Mix in egg, yolk, orange juice and extracts. Add dry ingredients; mix until just combined. Add in chocolate chips. Drop dough by rounded tablespoon full onto ungreased or parchment lined cookie sheet. Bake until cookies are set around outer edges start to harden yet centers are still soft and puffy, 12-15 minutes.  Cool cookies on cookie sheets. 

Monday, January 24, 2011

{tasty} so NOT a food blogger

It is a good thing food blogging isn't my sole purpose here. It wouldn't survive me. My camera is currently sitting within arms reach of my kitchen and has been there for the last several days. Did it even occur to me to pick it up a snap some pictures while cooking dinner tonight? Of course not!

Even though I plan my meals out every week, so I know what I will be making, I still find myself rushing to get dinner done every night. Tonight was not so much that I was rushing, but that I was literally doing 5 things at once. Balsamic vinegar reducing on one burner. Kale sauteeing on another. Water boiling for gnocchi on a third burner. A grill pan heating up on the last, waiting for some ultra thin round steaks. And cubed butternut squash roasting in the oven. 

I did however snap a photo with my phone. Its possible I rely on it a little too much. 

It was at this point that all the seperate components were coming together to look ever so lovely and delicious. 

And it didnt end here. I tossed in about a cup of Classico Sun-Dried Tomato pasta sauce, best canned sauce ever! And served with a little balsamic reduction and Parmesan cheese on top, and my super thin steaks on the side. The steak was not the star. It wasn't even necessary. But hey, what can I say? We like meat. 

Sunday, January 23, 2011

{flashy} Reverse Lens Macro

Reverse lens macro is a technique I heard of quite some time ago but never bothered to try. Perhaps because I own a macro lens I didn't think it was necessary, or because I simply didn't want to make the time for something new. Actually, its probably a little bit of both. However, it is a great budget friendly way to dabble in macro photography. I'd say it even borders on being micro photography.

The basic idea is this: take your lens off your camera, turn it around and butt it up against the camera body, holding it flush so no light can leak through, and click away. Sounds simple enough, right? So I decided to finally give it a shot. I knew going in to it that I would lose control over my aperture setting, but on top of that I had to actually hold back the aperture lever (on the lens mount) to be able to see anything at all. If I did not do this my pictures were straight up black. So holding this lens in place, while holding the aperture lever, while holding the camera taking pictures can be a little tricky! Not to mention painful after holding that lever in place for a while!

It definitely takes some practice but it is pretty fun! Focus is out of the picture with this method as well considering your lens isn't actually attached to your camera. The only way you can focus is to move closer to or further from your subject. I have yet to get an image in sharp focus, but I'm guessing that has to do with me opening up the aperture completely, making my depth of field as shallow as it can possibly get. I will have to try again with either more light or a higher ISO, or maybe even both, and not hold my aperture wide open. Now that rain seems to finally be out of our forecast for a little while I am hopeful I can get outdoors and give this method another shot.

These two photos that I took are of condensation on the inside of a window

Friday, January 21, 2011

{CRAFTY} Shadowbox

This was a fun project and I am so happy with how it turned out! I made this Cars shadowbox for my son, who is completely obsessed with the movie. He even has the soundtrack and sings all the songs! Thats dedication for a 3 year old, don't you think? He was so thrilled when he got this that he told me over and over how much he liked it, and that I did a good job making it. It made my day that he appreciated it so much!


I could probably go on and on with the list of supplies I used here. The Cars logo is from the Cars cricut cartridge and all the chipboard was a pack I picked up at Michaels after lots of begging by my little man. I told him I would buy it and use it to make him something special, and thats exactly what I did. 

Also used -
Cosmo Cricket Joy Ride & Lil Man
My Minds Eye Abbey Road Stomp
Crate Paper Static
Diamond Plate & Tiny Bubbles Cuttlebug folders
Gear Brads from OTC
CTMH Glossy Accents
and more!

Wednesday, January 19, 2011

{CRAFTY} Skittles and Scrapbooks

My friend Liz over at Skittles and Scrapbooks has, not one but, three awesome giveaways going on over on her blog right now. Not only is she giving away the Cricut Lite cupcake Cartridge, but also some other great assortments of goodies!

Go take a peek! But prepared to stay a while; she has a lot of fun layouts to get inspired by.

Friday, January 14, 2011

{FLASHY} Fix-It Friday #82

Over at I Heart Faces they do a weekly participation edit. A contributor offers up a picture and anybody can join in and edit the photo. Looking through entries and checking out the steps somebody takes to edit is a great way to learn!

This is my first time participating, hopefully I did the picture justice!
The SOOC
(straight out of camera)


My Edit


I have to admit I don't always have a set workflow for editing. I like to play until I like it! Here is a quick run down of what I did with this picture.
  • Levels adjustment on all channels at 90% opacity
  • Second levels adjustment on all channels at 50% opacity
  • Brown gradient, hard light blend mode
  • duplicated background image at 85% opacity (this is to let the gradient come through)
  • duplicated background, screen blend mode at 45% opacity
  • High pass sharpen, overlay blend mode
  • High pass sharpen again, hard light blend mode
  • And a slight crop

You can click here to check out the rest of the edits!


Wednesday, January 12, 2011

{FLASHY} Levels Tutorial

One of the most basic, quick & easy ways to attack a photo that you want to edit should be levels. According to me anyway. And when I say quick, I mean it. It shouldn't take more than a minute. So why not give it a try? Levels are your friend!

It is absolutely the first thing I do when I open a picture in Photoshop. It may not be the last, but it certainly gives me a much better jumping off point for more in-depth editing.

Open your picture in Photoshop and click on the adjustment layer button

Don't laugh. Yes. It is a picture of bread. Delicious, delicious bread. Perhaps I will be nice enough to post the recipe for this yummy beer bread.

In the levels adjustment box click on the dropdown next to RGB and select the red channel.

So far so good? The rest is just as simple. All the images "data" is displayed in black. All you want to do is pull in the left and/or right points to where the data starts.

For the red channel, the left side stayed at zero, the right side pulled in from 255 to 196. Now my picture is rather red.

Don't freak out just yet!

You want to do the same on the green channel

And once again on the blue channel.

Looking at this now, I think it is a bit too blue. If I were to go back and re-do this I would probably pull the left point in to about 10-15. Although there is data at the starting point, it doesn't really pick up until you start moving a little right.

So how much did that little bit of work really help improve this image? A lot, I'd say!

Now, this isnt exactly an image I wanted to put a lot of editing time in to. I could easily stop here as it is decent enough as it is, but I did do a tiny bit more tweaking. This was maybe another two minutes or so of work. We'll save those details for another day. 


Saturday, January 8, 2011

{CRAFTY} Slight Overload

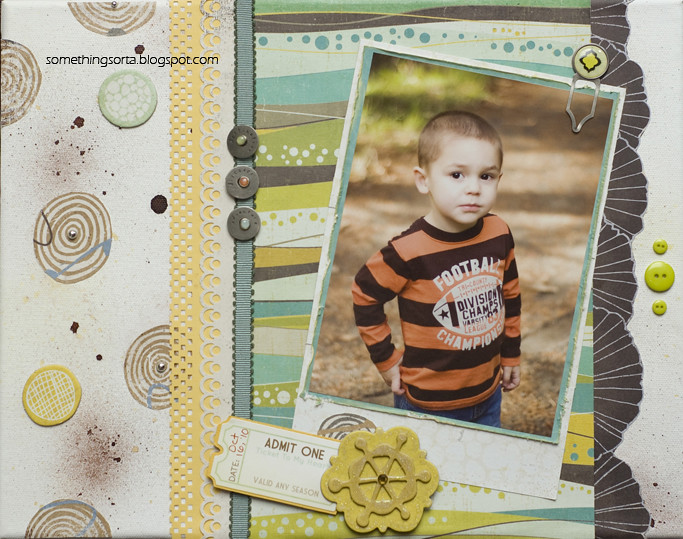
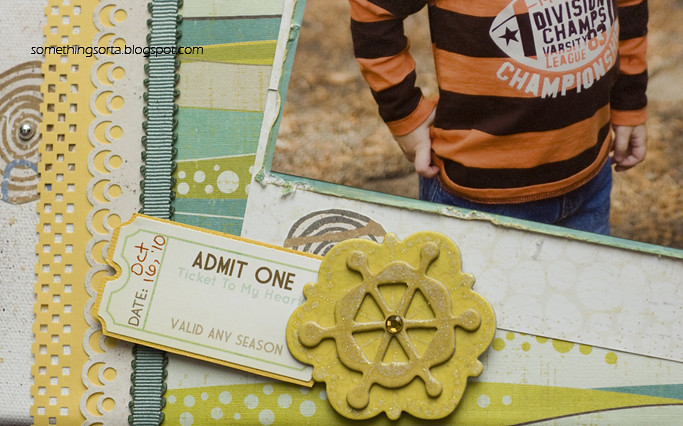
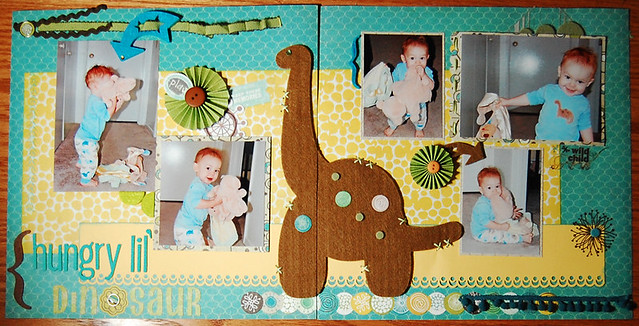
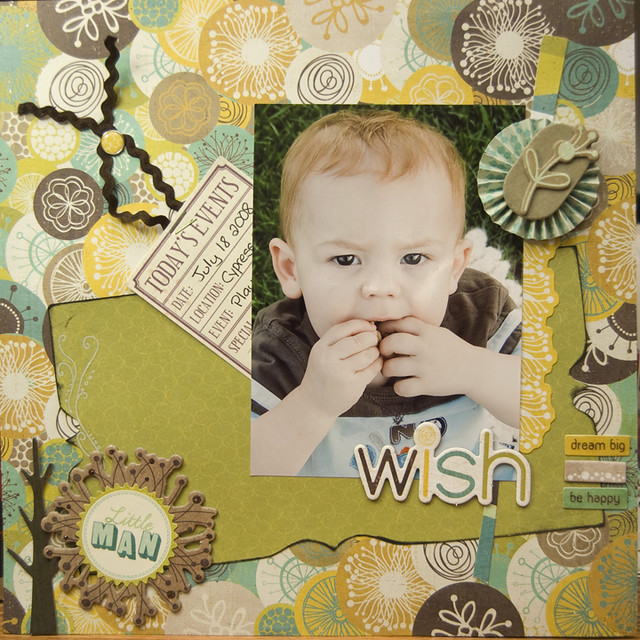
I love Crate Paper. ADORE it. I am, however, not the best at keeping up on new product lines so I am still working with the Brook collection. I cannot stop using it. I love that Crate paper has something for every one. They have such a wonderful mix of subtle and bold patterns, gorgeous colors, fun details, and lots of great embellishments. Every time I start working on a project I find myself grabbing my Brook collection first. What is left of it anyway. One of these days I will bite the bullet and order Snow Day and School Spirit online and pay for that pain in the butt shipping. I cannot wait until Crate Paper unveils their new collections later this month! It wouldn't make much sense for me to go on and on about this company without showing some of my work with it, right? So, here we go...

Most recently I created a canvas layout as a Christmas gift. Ok, so I cheated and made two of the same. Made Christmas even easier! Not only was this my first time using canvas, but also my first time using glimmer mist! I think I may be hooked.


My little man bringing out his inner-dinosaur, gnawing on his lovies. 

Those eyes! I see the world in those eyes. 

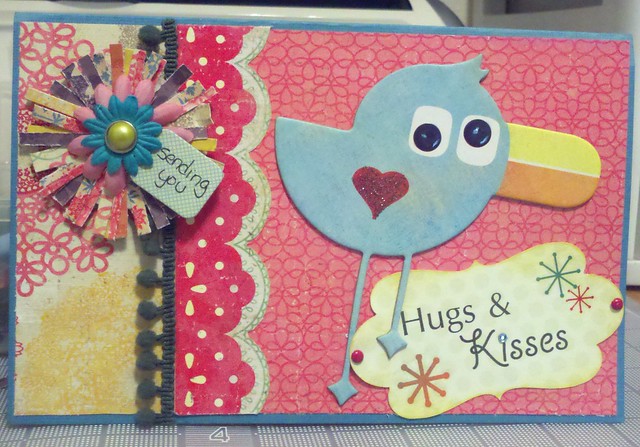
A few and far between card


and one more, with the little bit of Restoration I have, thanks to the monthly kits at Taylored Expressions! Who would have thought the little Basic Grey Lime Rickey bird would go with Crate Paper Restoration so well? So different in style, but it works!


So that's it for now. Thank you for hanging in there, if you did. I promise not to overload with pictures too often. And I will do my best at not using cell phone pictures too! :-)

And smilies...the urge has been overwhelming. One little one wont hurt, right?

It may or may not be the last. 

Friday, January 7, 2011

Hello!

I have been contemplating starting a blog for some time now and after going back and forth deciding if I would be interesting enough and finally picking a name for it, here I am! Probably still not interesting, but lets pretend. I am hoping this blog will do a few things: 

  • force me to stay focused on my passions
  • help me MAKE time for said passions
  • to eventually do it all better
  • and hopefully share (and gain) some knowledge along the way

There are really three parts to this blog:


Crafty - adventures in papercrafting! I will say that I am mostly a scrapbook layout kind a gal, but I also love altering items and am really trying to push myself in to cardmaking. It's a hard concept for me considering I'm not a card giver. and thank-you cards? puh-lease! nobody does that anymore! right? RIGHT!? See, hard concept. 


Flashy - No, not glitz and glamour. I'd say I'm far from that. This would be my passion for photography. Since my son was born Ive mostly delved into portraiture and as much as I have loved growing and learning while clicking away every chance I got, I feel that nature/scenic/landscape photography is more my thing and something I haven't focused on in many years. 


Tasty - This girl loves to cook. and bake. and eat. and eat. Did I say eat? Yeah, I'm working on that. I am a cookbook lover trying to get out of her comfort zone. I have only recently begun cooking, at times, without a steadfast recipe in front of me. I am tweaking, and food still tastes....good? great! Its a surprise to me too. Sometimes I actually know what I'm doing. 


Sometimes. 


So, that's it in a long nutshell. Let's get this party started!