Monday, August 26, 2013

{crafty} Exciting News of the Digital Variety

Glitz Design is one of my current fave manufacturers. I mean, have you seen the new Finnley collection!? It is down right cute and my number one must have right now!


So you can imagine my excitement when I was asked to be on their brand new digital design team! I believe I was grinning from ear to ear all day when I found out. Digital scrapbooking is a fairly new love of mine and I cannot wait to dive in to it head on with these amazing collections to work with!


Head on over to the Glitz blog to meet more of the talented Glitz Design Digital team and be sure to check back there tomorrow for the rest of the introductions!


Saturday, August 10, 2013

{crafty} Toolbox digital layouts

I signed up for Studio Calico's Toolbox class this month, and I am so glad I did! The first week we went digital with Shanna Noel; using digital elements ranging from papers to brushes to templates for both digital and hybrid pages. I have dabbled a bit in hybrid pages before but I have learned some great new techniques and how to use product in new and different ways.

My first page is a simple digital layout using a chevron template, made by Catherine Davis, that was provided in the class.


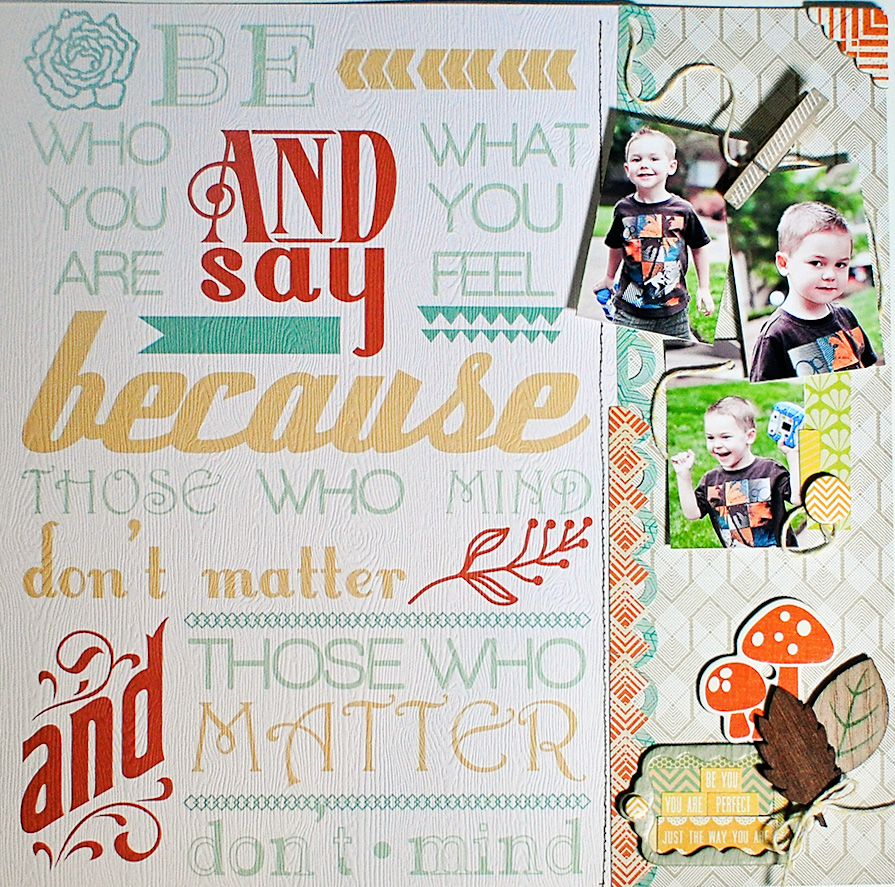
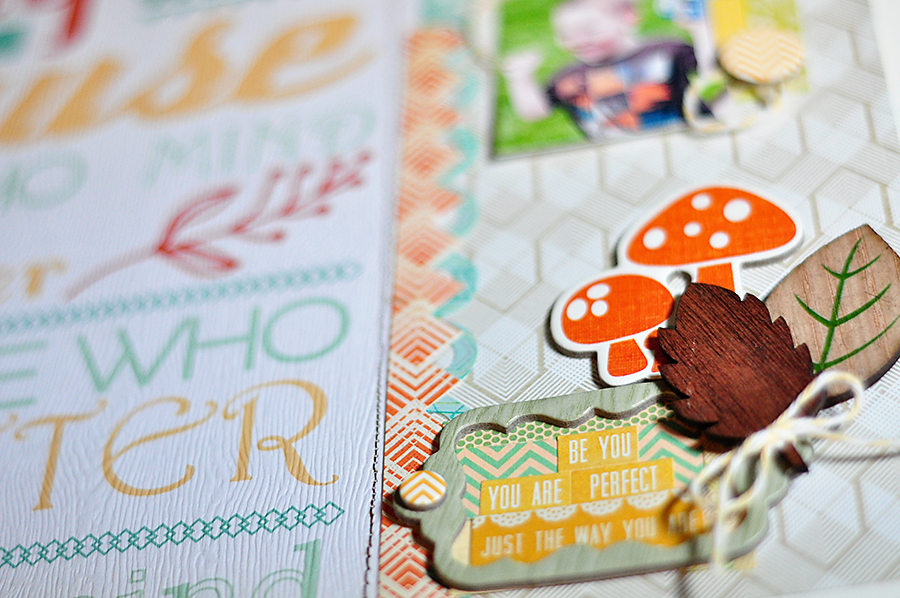
My second layout is a hybrid page using several different brushes available from the class and previous Studio Calico releases. I stamped all the circles in black and then went back and randomly clipped color and digital papers. Once those were completed I stamped several other brushes in white over the top of a few of the circles and added the brush strokes and title. I printed my base page out twice so I could cut out a few circles and pop them up on the page for dimension and then added other embellishments, mainly keeping with the circle theme. 

My last page is another all digital page, although I am tempted to add some bits and pieces once I have it printed. I created a template of multiple sizes and layers of triangles and then went back and added my papers and photo using clipping masks just as I did with the last two layouts. I chose a few patterned papers for this layout but did not care for the color. With a quick fill layer of color I was able to customize my digital paper to suit my layout. There are several ways to adjust color for this but my preferred method when I want a tone on tone pattern is to create a new layer, use the bucket tool to fill it with your choice of color and then change the blending mode from Normal to Color. It's that easy! 

Next week in the class starts the mixed media portion with Celine Navarro and I could not be more excited! I hope I have as much time to play as I did with the digital portion this week. 

Thanks for looking!

Friday, August 2, 2013

{crafty} layout share & some news!

Well I sure am a bit late to the party here, but I do have some exciting news to share! I have been asked to join the Craft Warehouse DT! I am such a fan of the Craft Warehouse stores and couldn't be more excited to join them for my first official design team spot! If you haven't had the chance to visit one of these stores in the Pacific Northwest, you sure are missing out. They always carry the latest products and are packed full of inspiration at every aisle. It is definitely one of my favorite places to shop.

Keeping up with all news fun and good I can now share my FIRST and SECOND ever published layouts!

The first was briefly shared and featured at Studio Calico until I received the publication notice and had to have it removed. It was published in the July issue of Scrapbook Trends, which sadly was the first digital only publication for Northridge. I would have loved to get my hands on a print issue of this!


This one is in the current August issue of ST. I have shared it on my blog, again briefly, before I had to remove it. I created the word art in Silhouette Studio and printed it on white woodgrain cardstock, then stitched it to the printed paper to create the base for my page.


The last layout I have to share is my most recent page. I created this during the Studio Calico Inked class using several techniques that were demonstrated. For the background stamping I chose a smaller background stamp and colored it in with three different Tim Holtz Distress Markers, spritzed it with water and then stamped making sure to mask off the areas of the paper I did not want to ink. After I finished stamping I sewed along the edges of the chevron pattern to give it a more finished look.


Thanks for looking!